3D Printed Custom Arduino Eye Mechanism Controller
Description
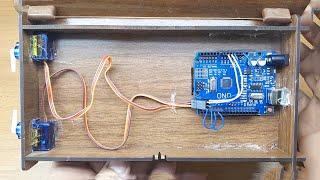
Here is the controller I designed for my 3D printed animatronic eye mechanisms. The main advantage it has over a traditional gaming controller is the ability to fine-tune a value (such as the openness of the eyelids) using a potentiometer, which holds its position. The controller plugs directly into an arduino and is pretty easy to build.
Support me on Patreon for a look behind the scenes and a Nilheim Mechatronics sticker pack: https://www.patreon.com/NilheimMechatronics
Also check the instructable for comprehensive detailed text instructions: https://www.instructables.com/id/One-Hand-3D-Printed-Controller-for-Microcontroller/
Supplies:
Joystick - either use one of those cheap and nasty unbranded ones that come in arduino starter kits (https://amzn.to/2rL5WVl: check images to see if you might already have one) or use a Parallax Inc 2-Axis Joystick Module if you want a better response: https://www.parallax.com/product/27800
Push-to-make switch - the controller is designed to use one of these https://amzn.to/33M5zXI but you could probably make any small cylindrical switch fit.
10k Potentiometer - designed to use these https://amzn.to/35Yy6ed but again, a similar sized one is likely to fit with some adjustments.
Screws: A small kit like this should do if you don't already have these lying about: https://amzn.to/2OJQt0M
4* M3 x 4/5/6mm screws (only if using cheap joystick)
4* M2 x 4/6/8mm screws (only if using parallax joystick)
4* M3 x 8/10/12mm screws
6+ core wire with an outer diameter of around 4.5mm/5AWG: https://amzn.to/34K7HAv - although realistically you can use whatever cable you want!
(optional) A cable grommet for a 6.5mm hole and 4.5mm wire: https://amzn.to/2OIU7HZ
Downloads:
Visit: http://www.nilheim.co.uk/latest-projects/eyemech-controller


Comments